Before you begin
Before you begin, please note that:
- you need to have IT Experience Administrator or Administrator role in ServiceNow
- you need to have access to the "Users" table in ServiceNow
- the notification for your selected survey area must be activated in the ServiceNow instance
Set up a new survey
To set up a new survey, use the ServiceNow application navigator to open the "Survey Settings" module in the HappySignals IT Experience application.
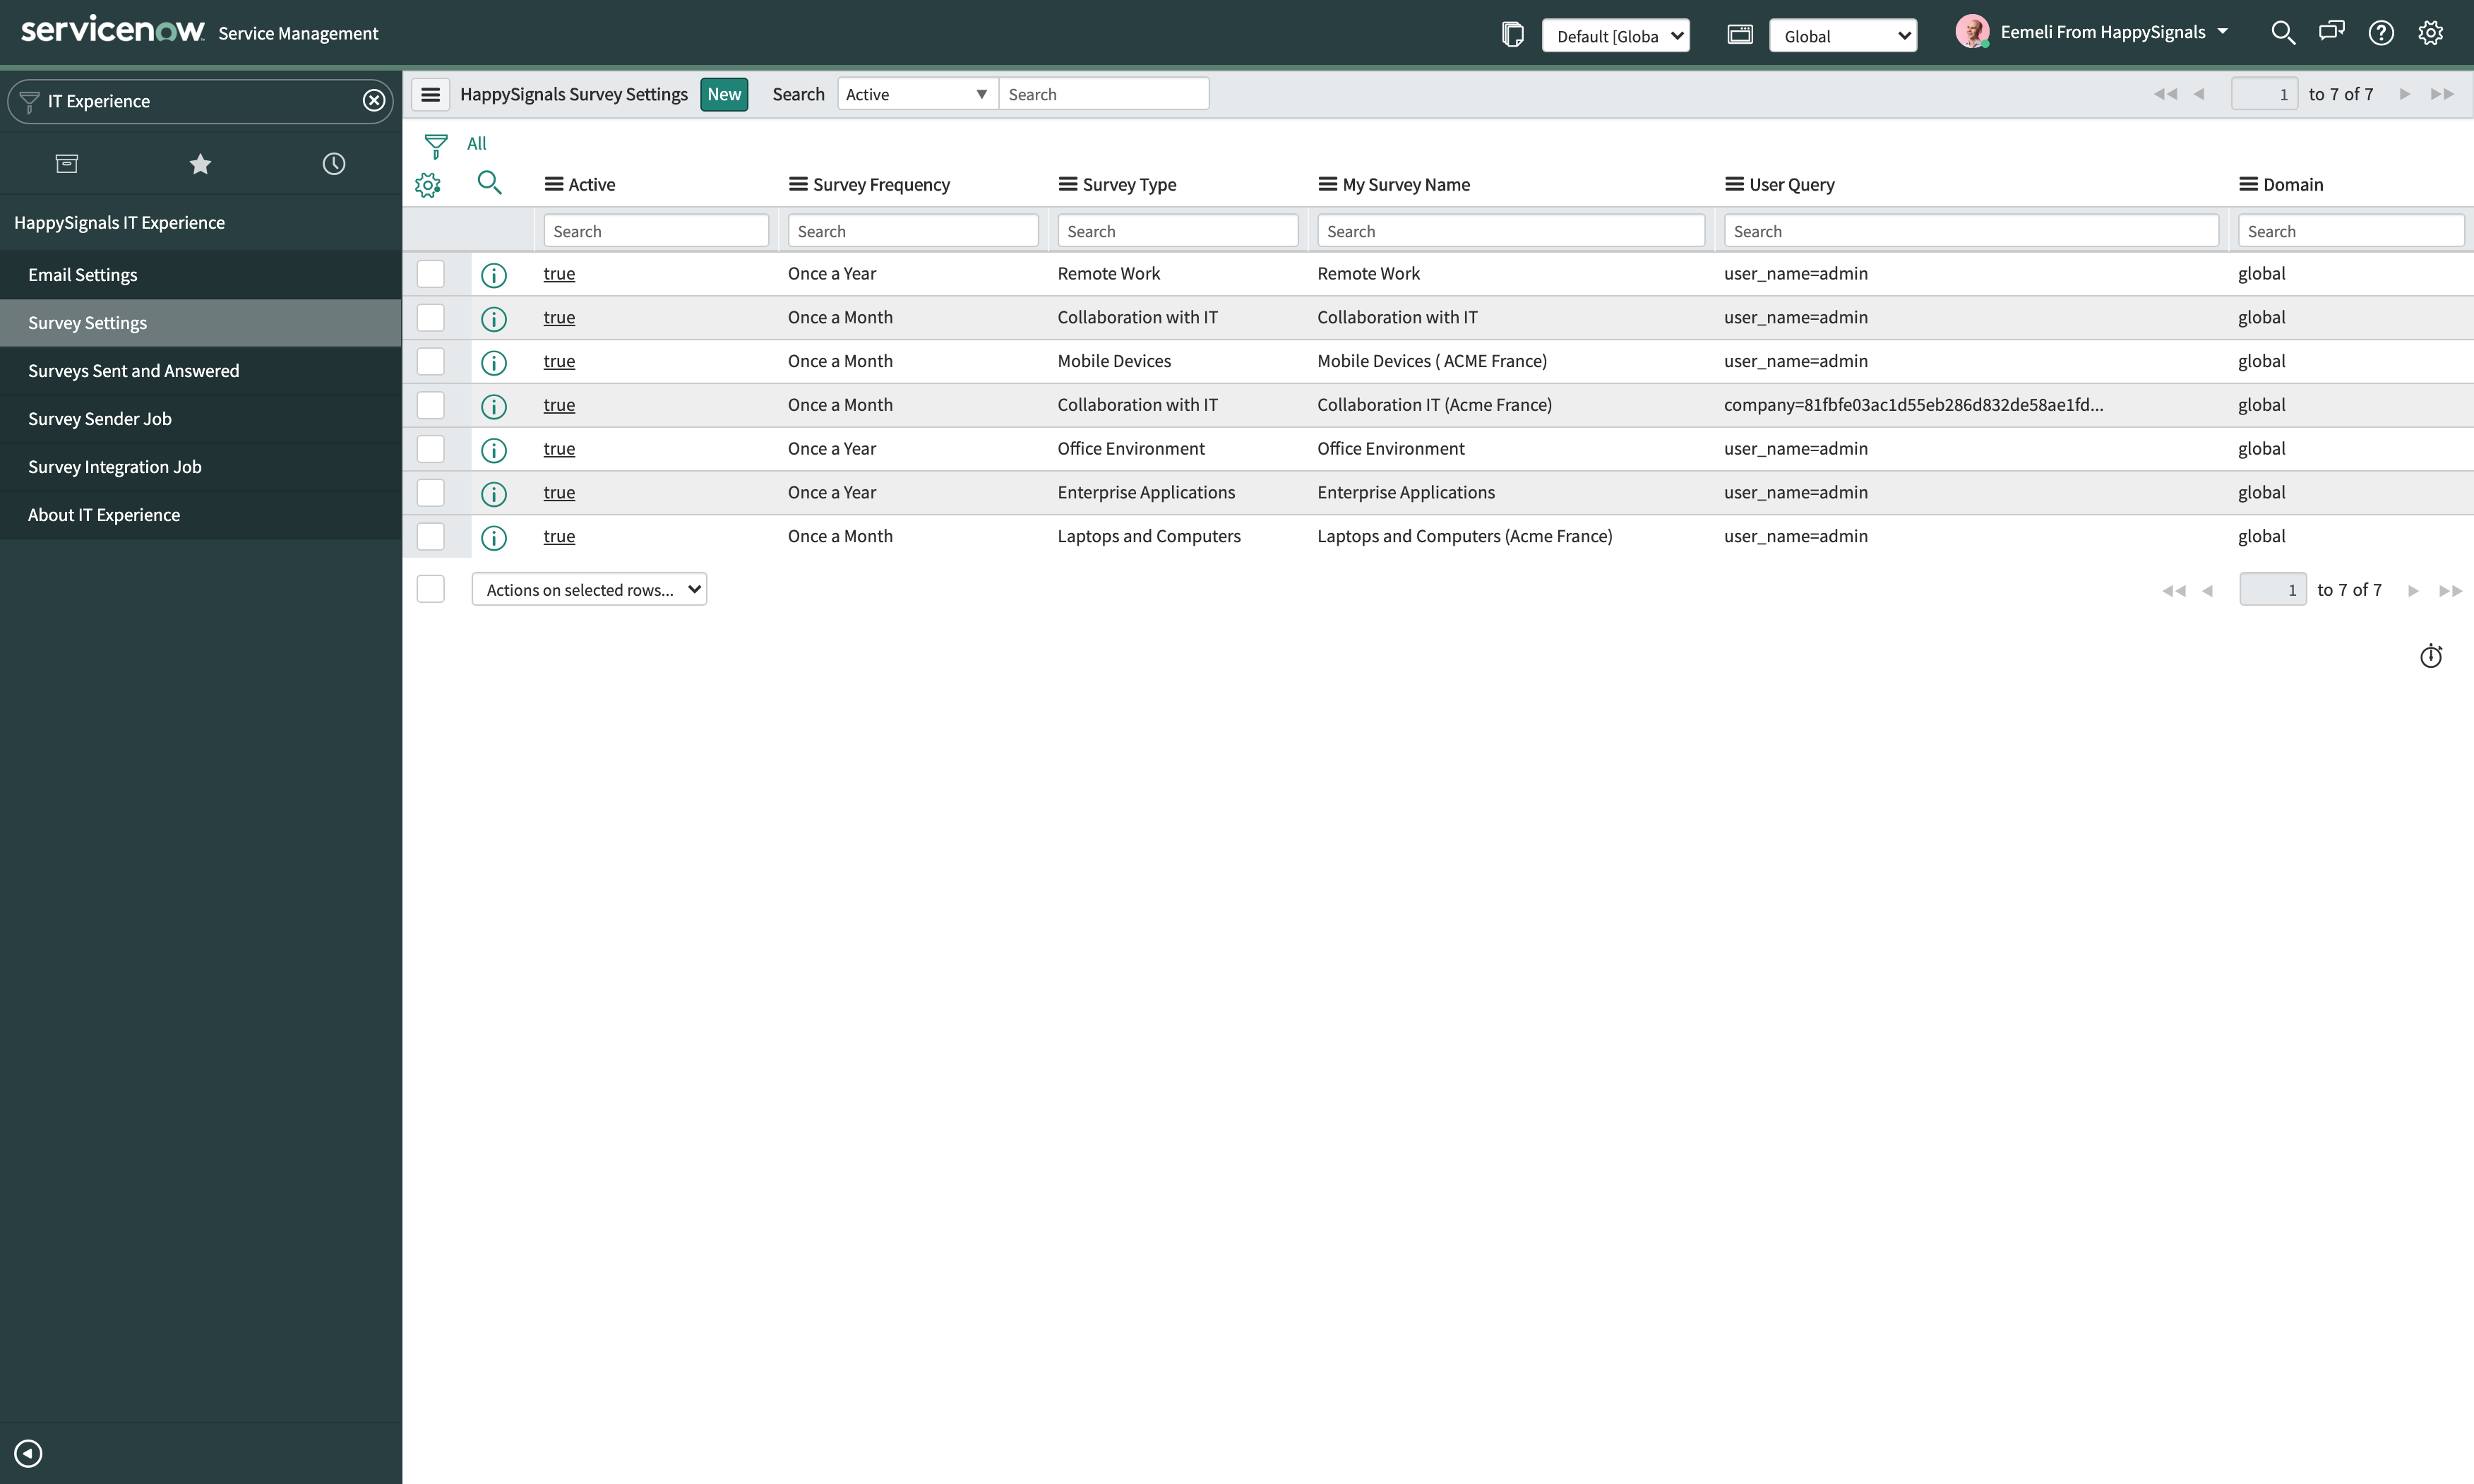
This opens a list of surveys that have been created in your ServiceNow. The list contains both currently active surveys and also surveys that are inactive.
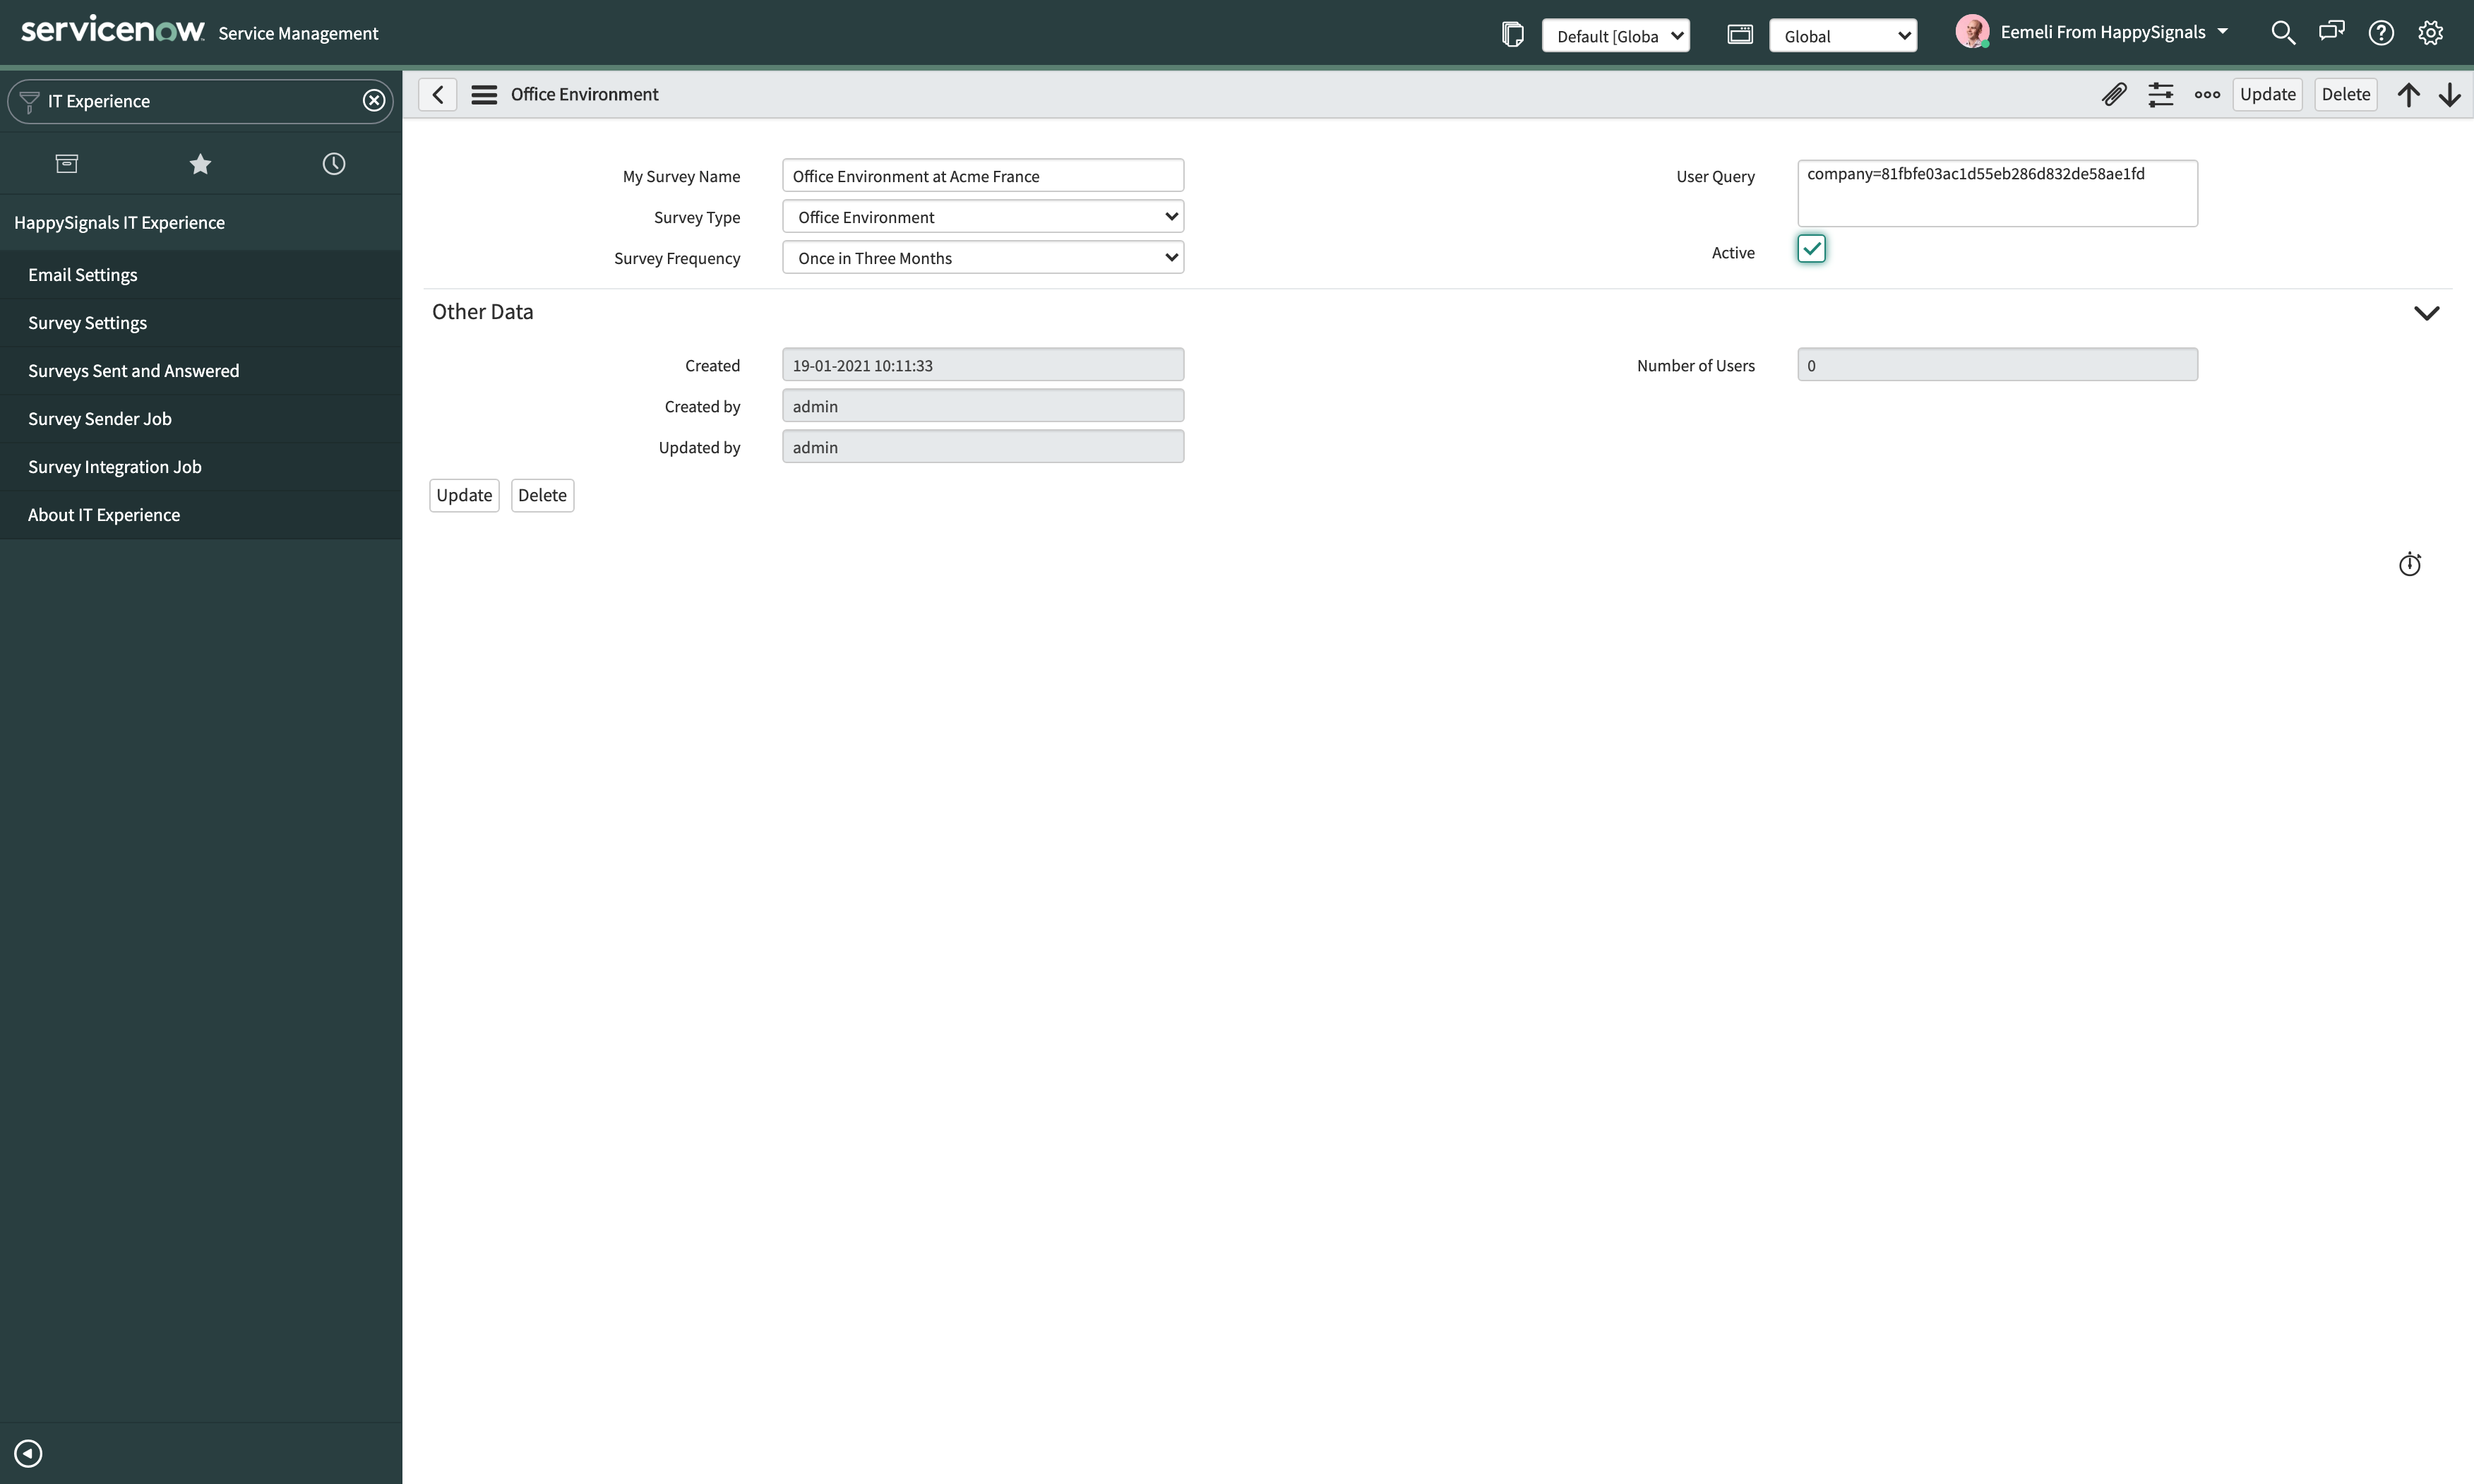
To set up a new survey, click on the "New" button on the top of the list. This will open a new survey record. In the survey record
- select the desired survey area on the "Survey Type" field
- provide a descriptive name for your survey on the "My Survey Name"
- select the survey frequency on "Survey Frequency"
The survey frequency defines how often the users targeted by this survey will receive it. The target group will continue receiving this survey with the selected frequency until the survey is deactivated.
To save your changes right-click on the grey banner area and select the "Save" option on the dropdown menu.
Define your target group and form the user query
Now that you have done the basic setup for your survey, it's time to build the user query that defines the target group for your survey.
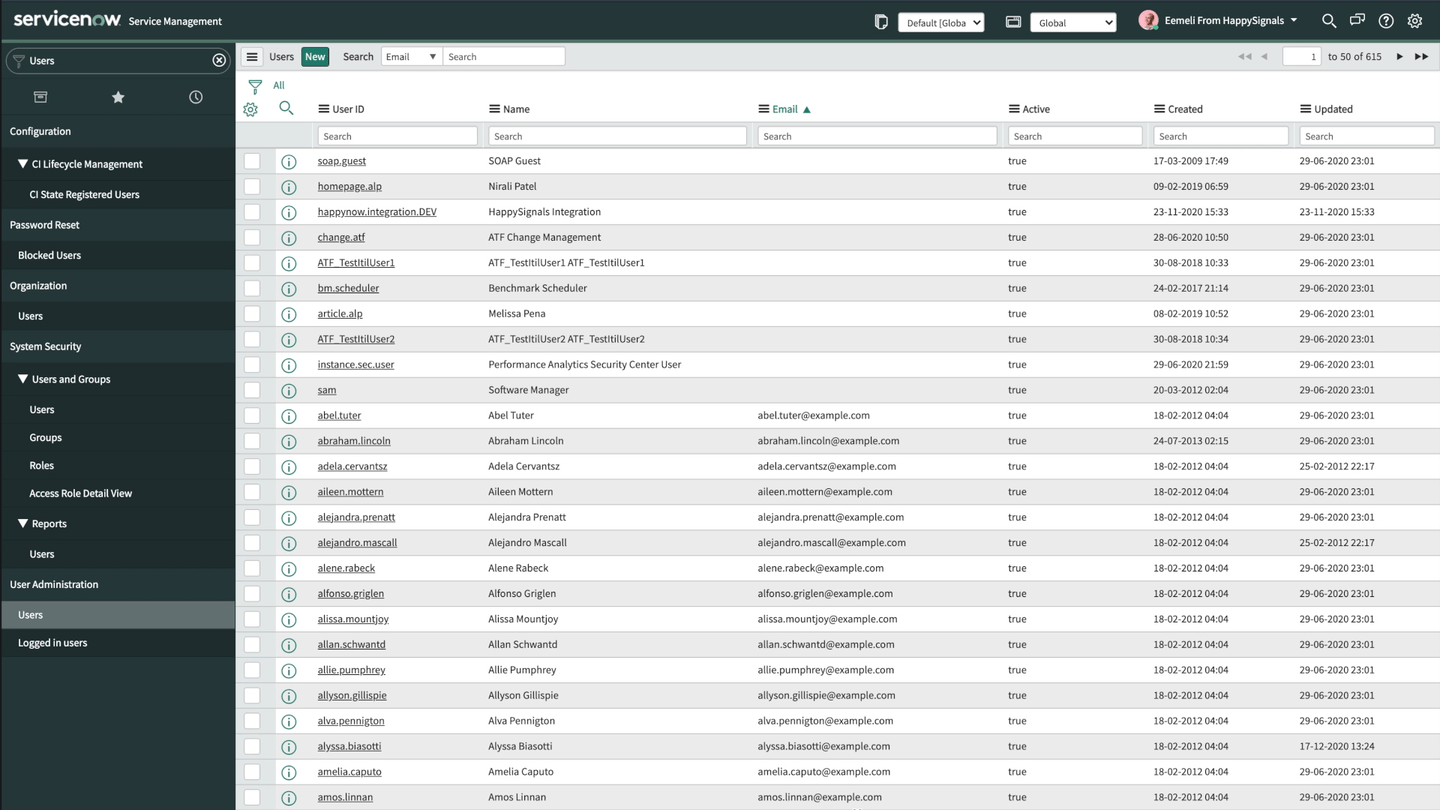
First, you will need to navigate to the "Users" table [sys_user], we suggest that you open this in a new tab or a window next to your survey record window.
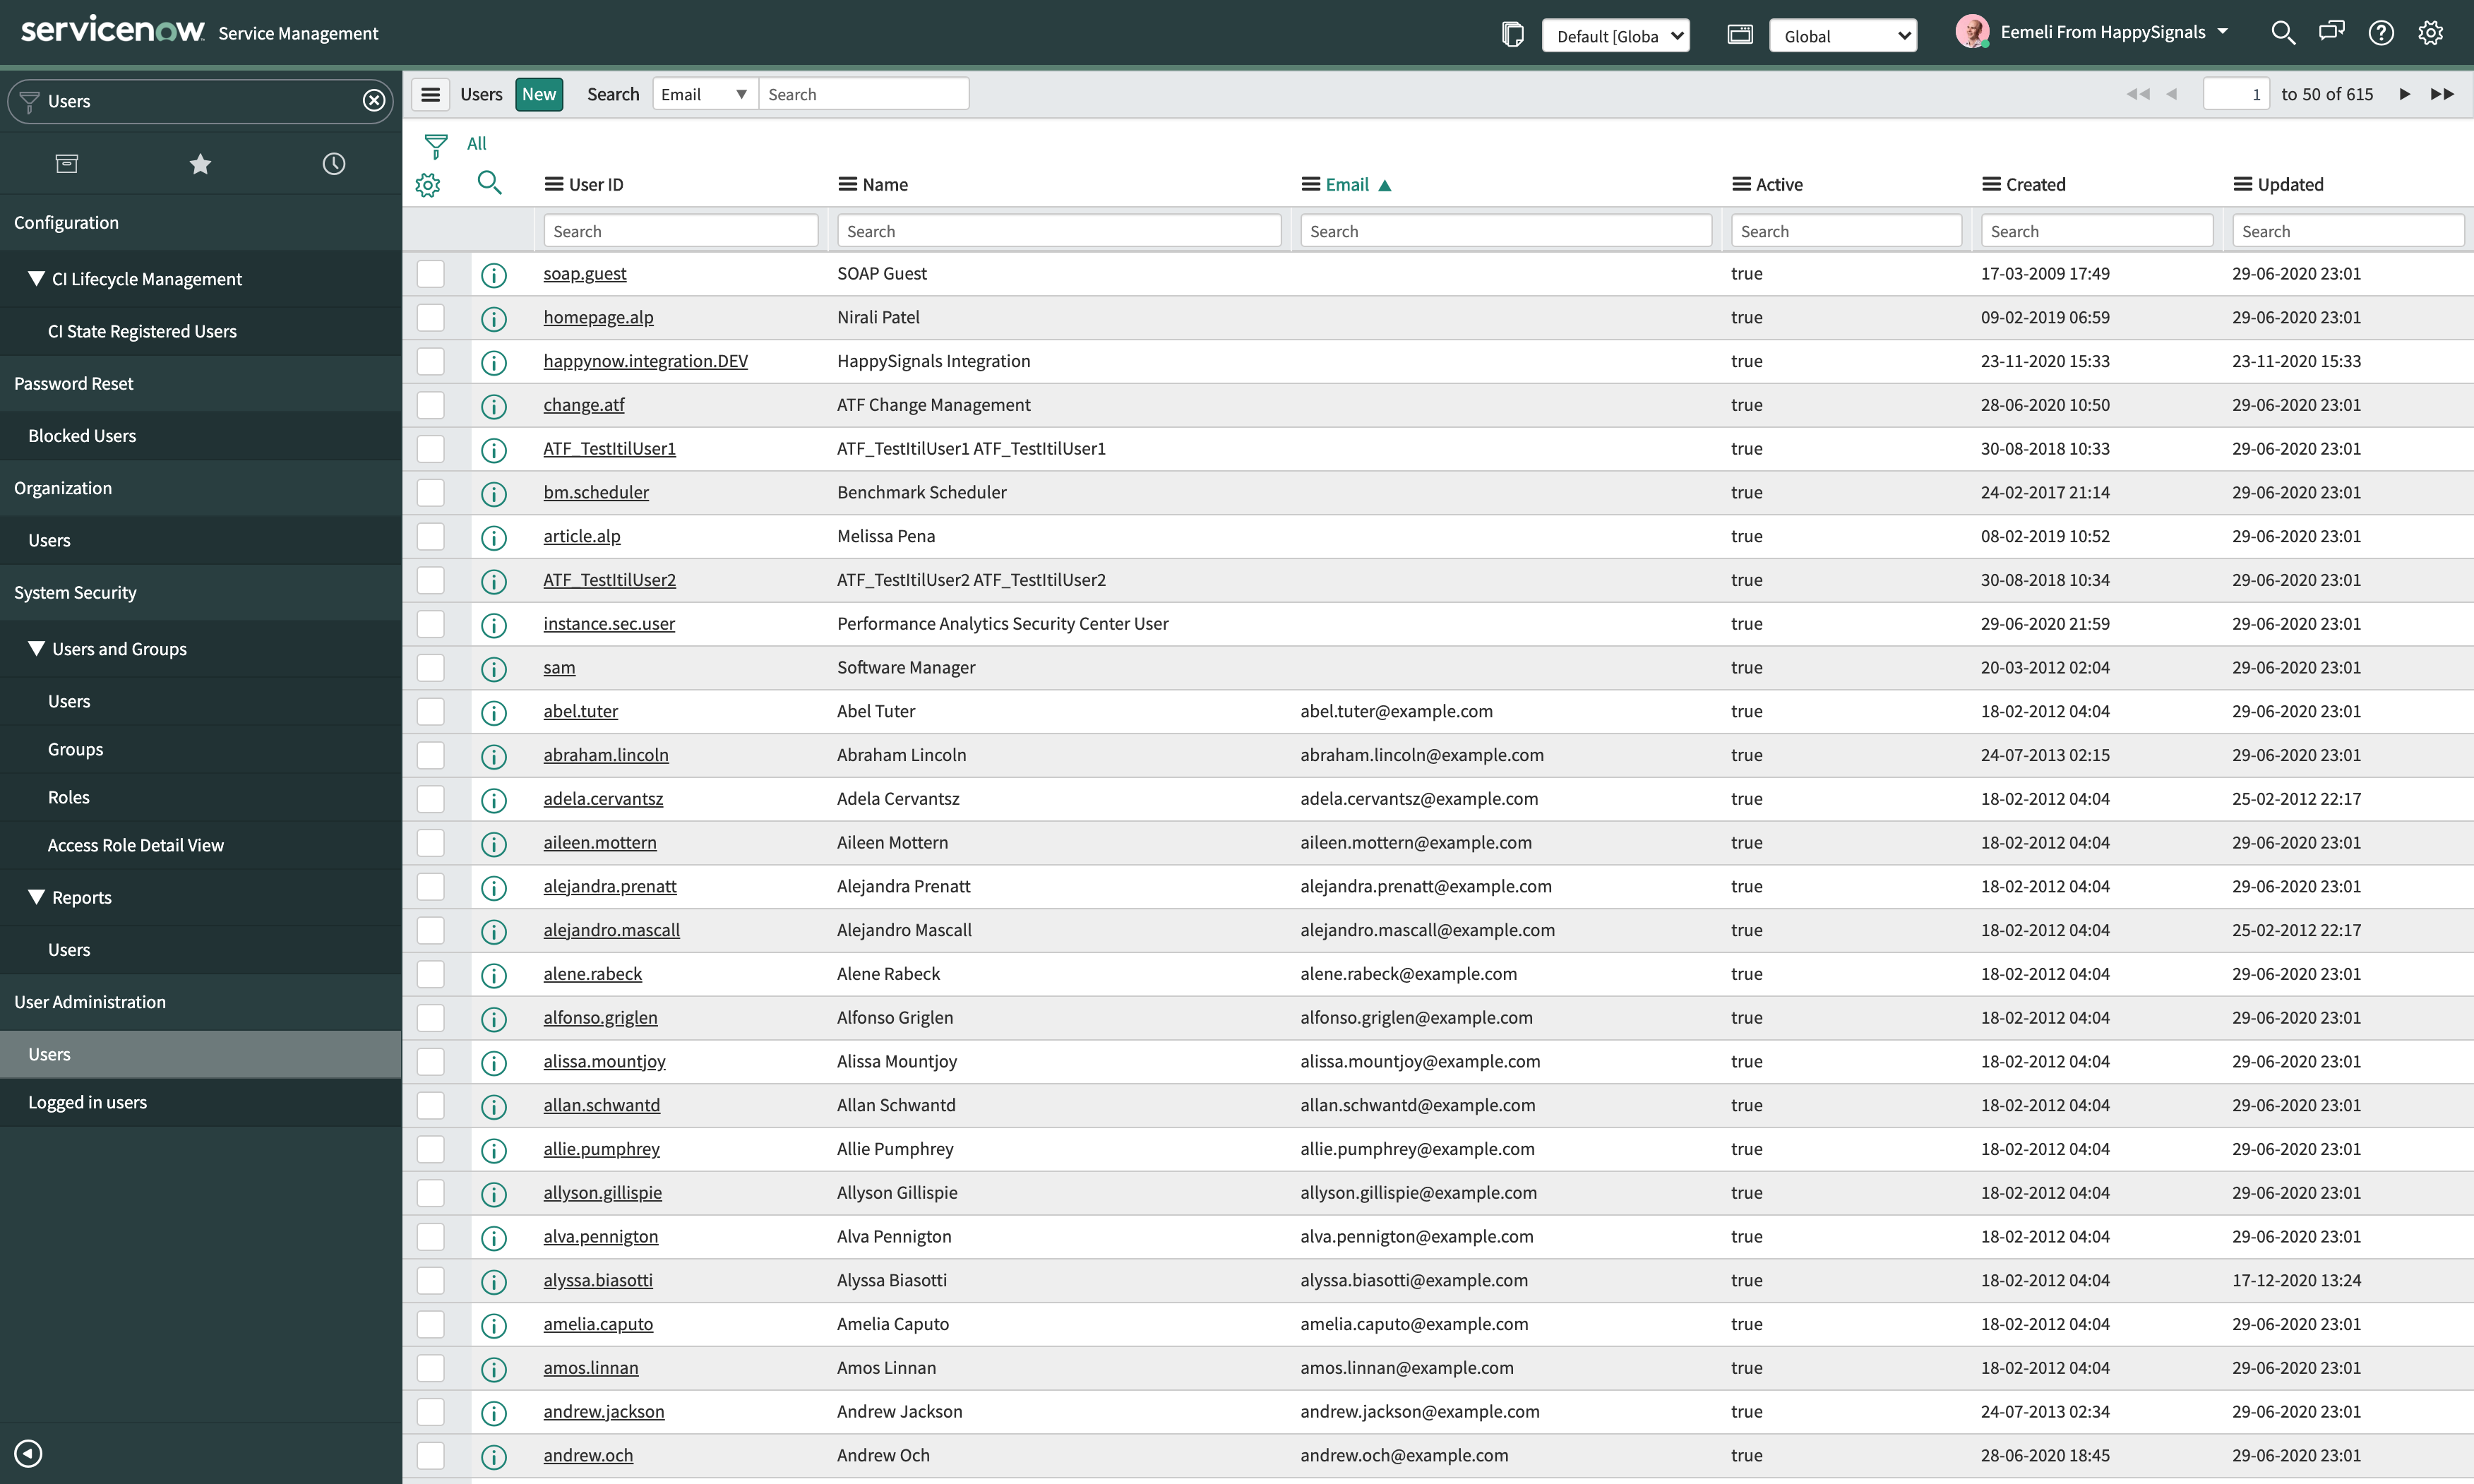
In the "Users" table apply filters to the user list until you only have your desired target group in the list. Then right-click on the last filter breadcrumb on the right and select the "Copy query" on the menu that opens.
Now you have the user query for your target group copied in the clipboard. Next, you need to head back to the survey record and paste the copied query to the "User Query" field. At this point, you can also set your survey as active by making the "Active" checkbox as checked.
To save your changes right-click on the grey banner area and select the "Save" option on the dropdown menu or by clicking the "Update" button on right side of te grey banner area.