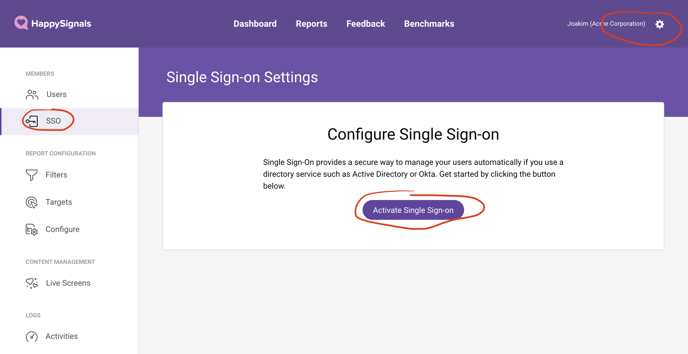
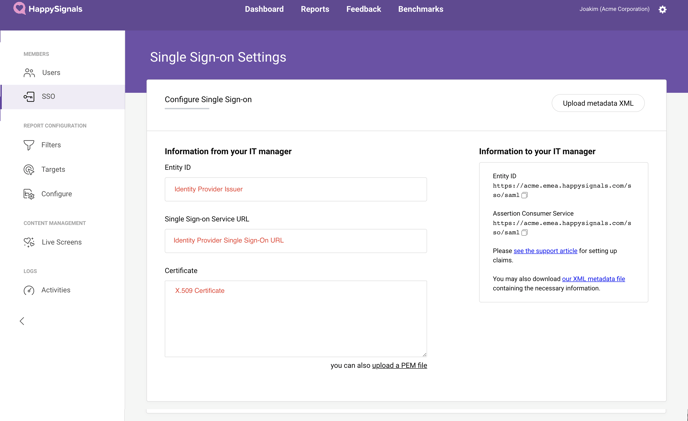
Start by opening the SSO settings in XMP by clicking the Cogwheel icon in the top right corner of the screen and navigating to the SSO settings in the navigation bar on the left.
Click the "Activate Single Sign-on" to start configuring SSO.
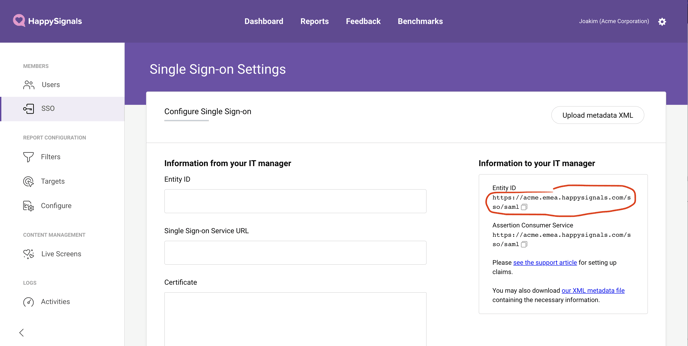
Make a note of the Entity ID shown in the box on the right side of the screen this will be needed to configure Okta.
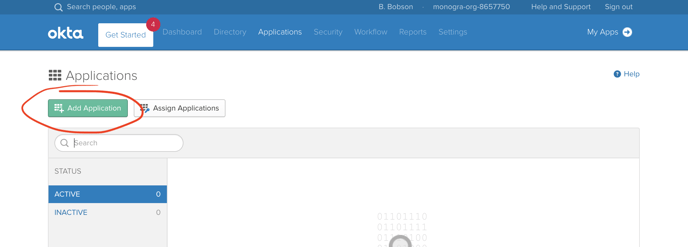
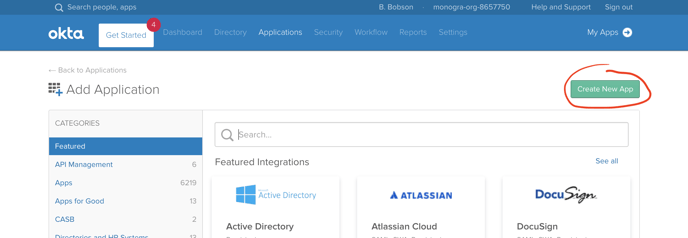
Go to the Okta control panel and navigate to the Applications section. Click "Add Application" and then "Create New App" to begin creating the HappySignals XMP application in Okta.
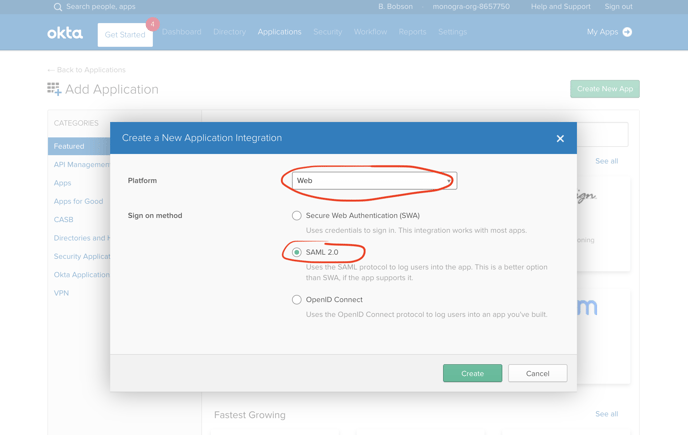
Choose "Web" as the Platform, and select "SAML 2.0" as "Sign on method".
Enter a name for the application in Okta, you may choose the name as fits your organisation best but we suggest "HappySignals XMP".

The next step of the wizard will prompt for details that is required from HappySignals
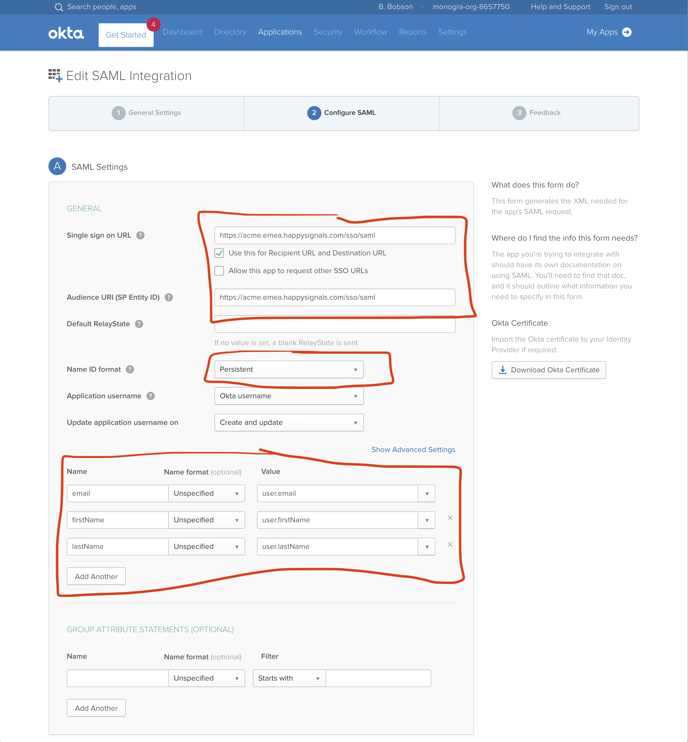
First, enter the value for EntityId that you noted at the start of these instructions, it will be in the following form
https://your_organization.emea.happysignals.com/sso/saml
but will vary depending on your instance name and which environment your instance is located.
Next, choose "Persistent" as the Name ID format, this will ensure that users will always get a consistent identifier in HappySignals.
Then ensure that the required details about the user is passed from Okta to HappySignals by configuring mappings as follows
| Name | Name Format | Value |
| Unspecified |
user.email |
|
| firstName | Unspecified |
user.firstName |
| lastName | Unspecified |
user.lastName |
If your users are configured differently, use the drop down in the Value column to pick the appropriate user attribute to pass to HappySignals.
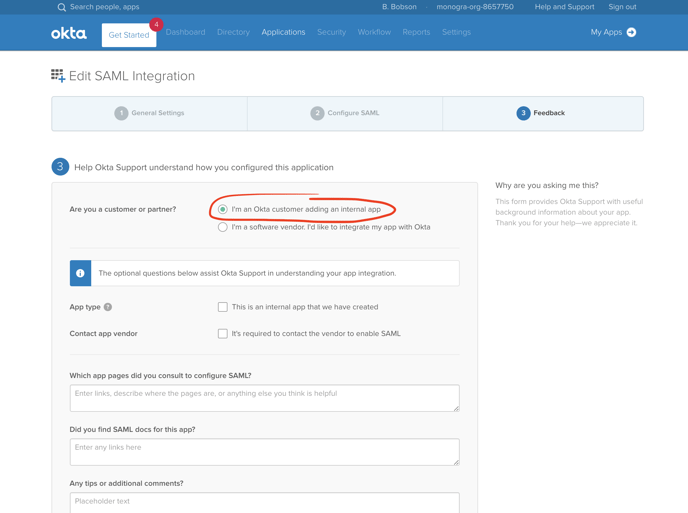
In the last screen of the wizard, under "Are you a customer or partner?" select "I'm an Okta customer adding an internal app", the rest of the fields are optional.
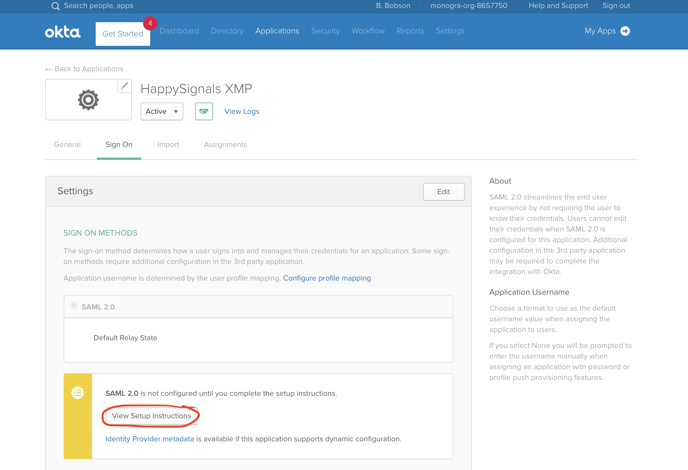
The HappySignals application is now created in Okta. Next you will finalize the configuration in HappySignals by entering details about your Okta application in HappySignals settings.
Click "View Setup Instructions" which will open a window with all the details needed.
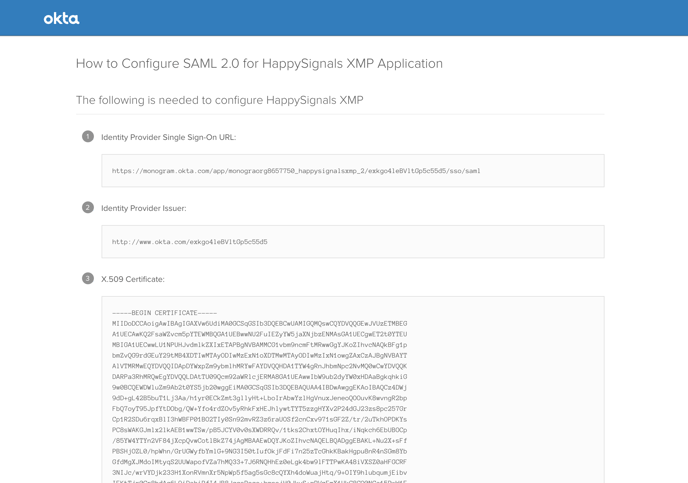
Copy the details from Okta to HappySignals as labeled in the screenshot below.
Click "Save" in HappySignals to save the configuration. Remember to assign users to the application in Okta as appropriate.
You can now login to HappySignals XMP using SSO by visiting
https://your_instance.emea.happysignals.com/sso/saml
Or by clicking the application icon in Okta.